



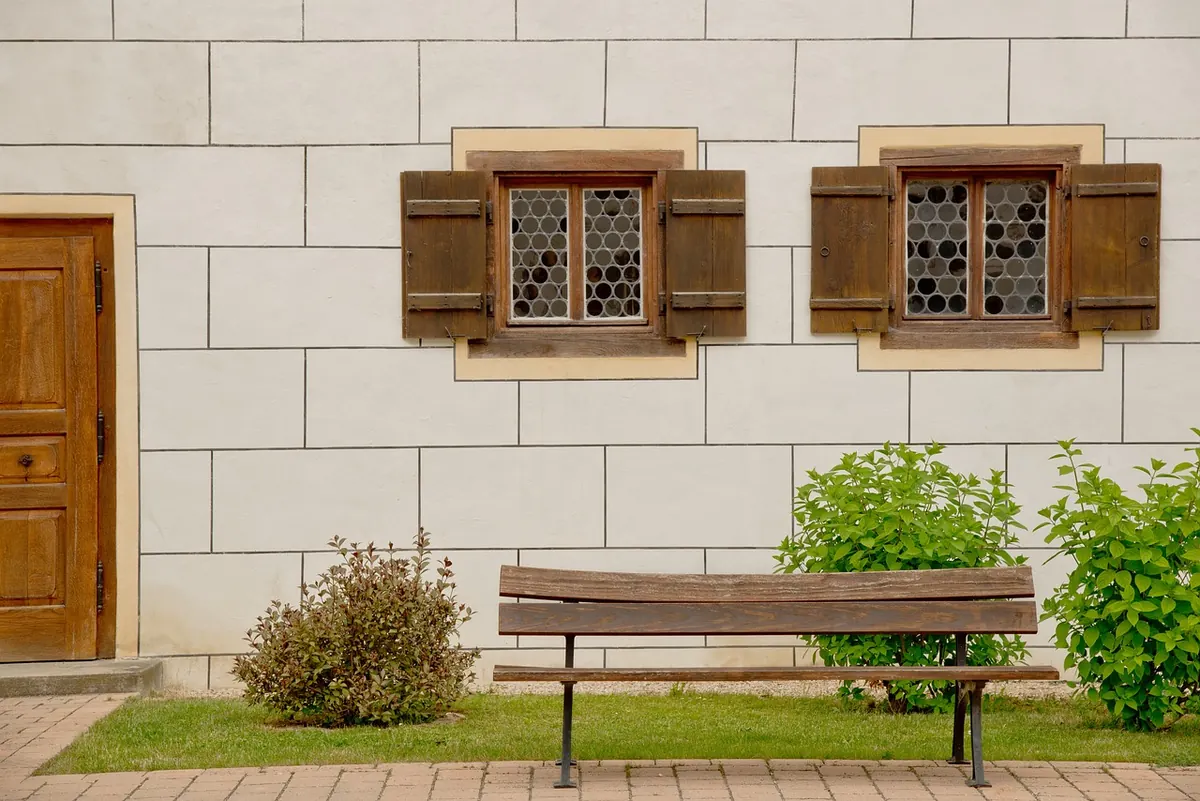
A bench built to fit one particular wall is one of the quiet pleasures of oak furniture. It sits flush against the skirting, follows the shape of the room rather than fighting it, and looks as though it has always been there. The difference between that and a bench that stands slightly proud at one end, rocks on a stone floor and will not go up the stairs is almost always decided long before any timber is cut. Get the measuring and the briefing right at the start and the making becomes straightforward.
Start with the room, not the bench
Spend twenty minutes in the space before you think about legs, rails or finish. Decide what the bench is for: a window seat to read on, a hall perch for boots, a dining bench for six, or a boot room workhorse that takes wet coats and muddy feet. Each of those answers changes the height, the depth and the strength of the frame.
Then look at what surrounds it. Radiators, sockets, light switches, curtain drops, a door that swings back, a cupboard that opens across the corner, a dado rail, a bulky skirting profile, a gas pipe running along the wall at ankle height. All of these either force the bench out from the wall or need cutting around. Note them now; discovering them on delivery day is expensive.
Measure the space properly
Work in millimetres throughout, and write everything down rather than trusting memory. Three measurements matter most.
Length and depth
Measure the length at floor level, again at seat height, and again across the widest point of the skirting. Walls bow, corners are rarely square and skirting is often thicker than it looks. The smallest of your three figures is your true maximum.
Depth is a comfort decision. Around 300mm is a perch for a hallway; 380mm to 450mm suits a window seat, with a cushion on top; a dining bench usually sits between 350mm and 400mm so people can tuck in without the front edge digging into their legs.
Height and clearance
For a dining bench, the seat height needs to work with the table. Most dining tables have a top around 740mm to 760mm from the floor, and seats usually fall between 440mm and 470mm. Sit at the table on a chair you already own, measure that chair, and use it as your guide. For a window seat, check the sill height and any radiator beneath, and leave room for a cushion if you plan one. Think about knee and toe space too: a bench with a solid apron across the full front looks tidy but is uncomfortable to sit at for long.
Floors, walls and levels
Put a spirit level on the floor where the bench will stand. Old floors slope, and a 10mm drop over two metres is common. Tell the maker: adjustable feet or a scribed plinth solve it neatly. Check the wall for square by measuring the gap between the wall and a straight edge at each end. If one end is 20mm proud, say so.
A basic measuring kit
- A steel tape at least five metres long
- A spirit level, ideally 600mm or longer
- A pencil, a notepad and a phone for photographs
- Card or hardboard if you plan to make a template
- A small square for checking corners
Wall templates and photographs
For bays, alcoves and chimney breasts, few things help a maker more than a template. Cut card or hardboard to the shape of the space at seat height, slide it into position and draw round the wall line. Mark the front edge so nobody loses the orientation.
Photographs matter as much as numbers. Take one of the whole wall from a few steps back, one close to skirting level, and one of anything awkward such as a radiator valve or a sloping ceiling. Put the tape measure in the frame so the maker can judge scale, and say which direction doors open. A rough plan sketch with dimensions in millimetres, even a scrappy one, removes most of the guesswork.
Check the route in before you order
A bench that cannot reach the room it was built for is an expensive problem. Walk the delivery route as though you were carrying it:
- Front door and any porch width, with the door open at its widest
- Hallway turns and tight corners
- Stair width, the bend at the top and the banister posts
- Lifts, if you live in a flat, including the door opening rather than the cabin size
- Garden gates, side passages and anywhere a car can reasonably stop
If anything looks marginal, ask for the bench to be made in sections that bolt together on site, or with a top that lifts off a fixed base. A solid oak top much beyond 1800mm is heavy and awkward to manoeuvre; longer benches nearly always travel better in two pieces.
Writing the brief
A good brief is short, specific and visual. Include all of the following, ideally on one page:
- Use and capacity: what the bench is for and how many people should sit on it.
- Dimensions: overall length, depth and seat height in millimetres, with any tolerance you can live with.
- Fixed points: skirting height, radiators, sockets, window reveals, floor slope.
- Design: leg style, whether you want a backrest, any storage underneath, cushions or upholstery.
- Timber: European oak is the usual choice; say whether you want character grade with visible knots and colour variation, or a cleaner prime grade.
- Finish: oil, wax, lacquer, or a painted base with a bare oak top.
- Access and delivery: the route notes above, plus whether you want installation.
- Timeframe: when you need it, and whether it must sit alongside existing oak furniture.
Add your sketch and photographs, then ask for a drawing before work begins. Read the drawing twice, on paper and with a tape measure in the room.
Oak and finish choices worth settling early
Character grade oak has knots, sapwood streaks and a wider spread of colour; prime grade is more uniform and more expensive. Both are structurally sound. Oak also changes with light, warming and darkening over the first year or so, so ask for a sample and leave it on the windowsill for a fortnight before you commit.
Oils soak into the timber and can be topped up at home, which suits a bench that will take knocks. Lacquers sit on the surface and are more resistant to everyday spills. Wax gives a soft sheen but needs more attention. For a boot room, a hardwearing oil or a matt lacquer is the sensible choice; for a bedroom window seat, wax or oil is lovely. If the bench must match existing pieces, send a daylight photograph and accept a close match rather than an identical one, because no two boards are the same.
Before you press send: a quick checklist
- Length, depth and seat height recorded in millimetres from three points.
- Skirting, radiators, sockets and door swings noted.
- Floor level checked with a spirit level.
- Template or photographs taken, with a tape measure visible.
- Delivery route measured at its narrowest point.
- Timber grade and finish chosen, with a sample requested.
Do those six things and the maker has everything needed to quote accurately and build once. Ask about lead times and payment stages at the same time, and keep a copy of the approved drawing. It is the reference point if anything needs adjusting later, and the best guarantee that the bench you unwrap is the bench you pictured against that wall.
Photo: StockSnap / Pixabay